The following information is not new. We are in the process of making changes to our Folder Redirection policy, though, and I thought it might be helpful to have this baseline information in a place that is handy for referral.
Background
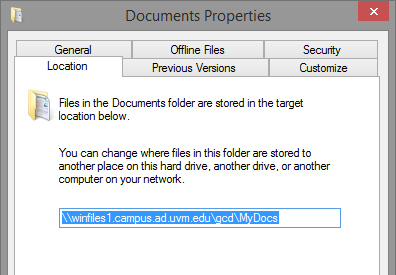
Offline Files is a feature of Windows that was introduced in parallel with Folder Redirection in Windows 2000. Folder Redirection allows an administrator to relocate some of the user profile data folders to a network folder, which has the advantage of protecting that data from loss due to workstation issues like drive failure, malware infection, or theft. It also means you can access your data from multiple workstations.
The Offline Files facility provides a local cache of the redirected folder(s) so that mobile users can continue to work with the data in those folders when disconnected from the organization’s network. When the computer is connected to the network again, any changes to either the network folder or the local Offline Files cache are synchronized. Users are prompted to resolve any conflicting changes, e.g., the same file was modified in both places, or was deleted from one and modified in the other.
At UVM, we use Folder Redirection on the Documents folder (formerly My Documents in XP), as well as the Pictures, Video, and Music folders. Most of the time, the Offline Files facility works without issue. However, as with all technology, Offline Files can fail. There are circumstances that can result in the corruption of the database that Offline Files uses to track the sync status of files. Doing major reorganizing and renaming of files and folders, for example, seems to be a culprit. Another one is filling your quota; you can continue to save files to your local cache, but the files won’t get synced to the server because you’re out of space.
How to sync your offline files
To manually synchronize your Offline Files with the target network folder, open the Sync Center by:
- Going to the Start Screen (or menu) and typing sync center
- Clicking the Sync Center item in the search results
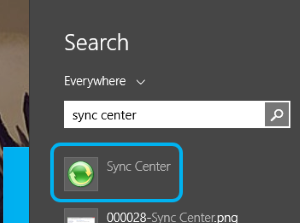
Windows 8.1 Start search for “sync center”
|
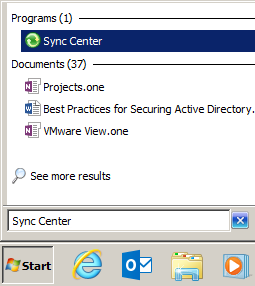
Windows 7 Start search for “sync center”
|
or
- Find the Sync Center tray icon and double-click it, or
- Right-click and select the Open Sync Center menu item
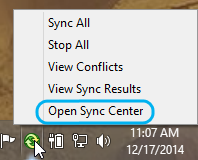
Menu for the Sync Center icon in the Windows system tray.
The Sync Center Window should appear.
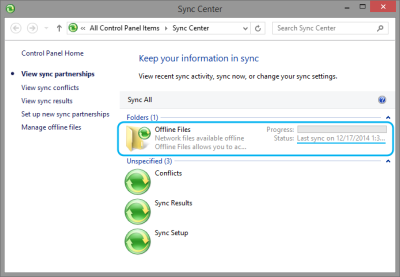
Offline Files status in Sync Center
Note that the Offline Files item shows the time of the most recent sync operation. If you want to initiate a sync operation, click Offline Files and then click Sync.
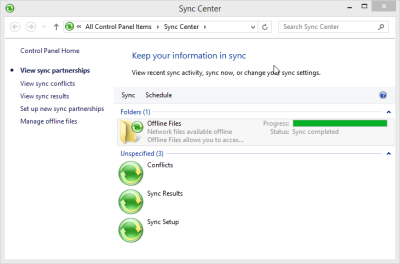
A sync operation has completed.
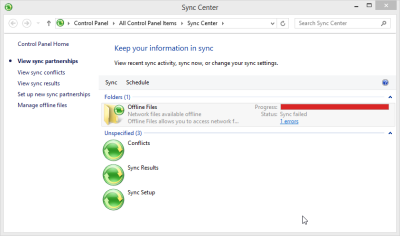
If there are errors or conflicts that require intervention to resolve, those will be show in the result. A conflict result is shown below.
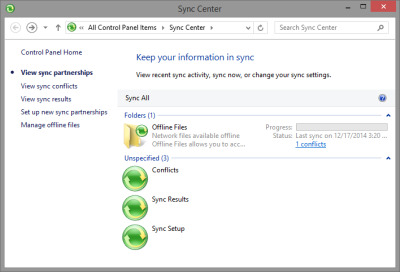
Sync operation with a conflict.
Click the N Conflicts link or View sync conflicts on the left to see details about the files in conflict.
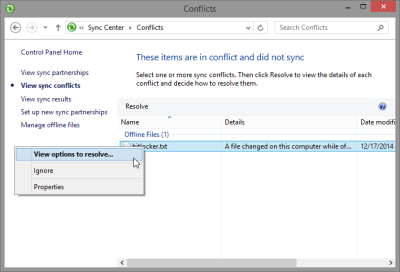
Right-click or select and click “Resolve”.
Select each file conflict you want to resolve, and click Resolve or right-click the file and select View options to resolve.
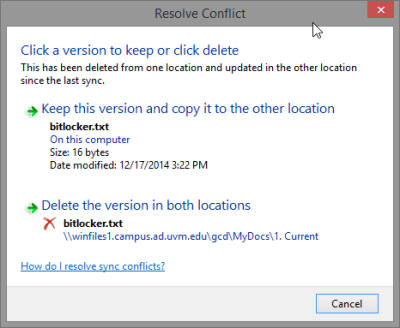
Windows provides information about the files in conflict and provides several appropriate options.
In this scenario, a file has been deleted in one location, and modified while offline in the other. Since only the one file exists, there are only two options: delete the file, or copy it to both locations.
Another scenario involves a file have been modified both offline and online, probably while using multiple computers. In that case, the resolution Window offers three choices: pick the offline file (on this computer), pick the online version (on the network folder), or keep both by renaming one of them.
Sync Errors are handled differently, and may require the help of your IT support staff or the UVM Tech Team.
A sync operation with error.
To review the errors or conflicts, you can view the Sync Results.
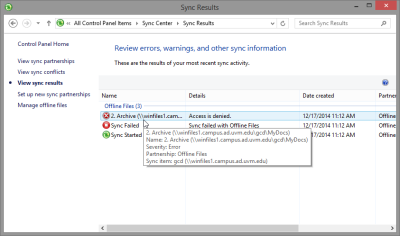
Sync result, with detail for an error.
You can view details about an individual error by hovering over it with the mouse cursor. In the example above, my folder “2. Archive” is throwing an “Access is denied” error. To resolve an error like this, it may be necessary to contact the Tech Team. In some cases, it’s necessary to reset the Offline Files tracking database and essentially start over. This procedure is documented in a separate post, Troubleshooting Offline Files.