In September, Microsoft launched a new and much improved Whiteboard web app, which includes basic features like being able to add an image and reactions, but also advanced options like templates for various activities.
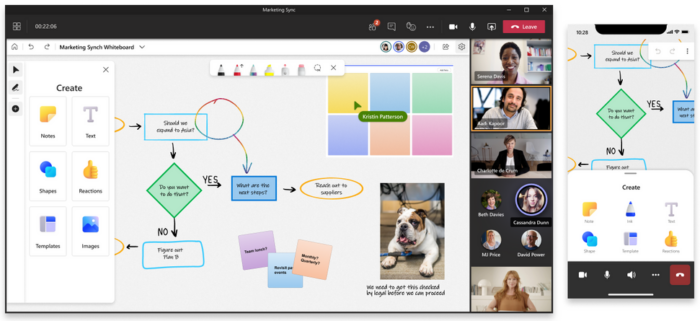
This new functionality is available from within Microsoft Teams meetings as well as via a web browser. The Windows and iOS native apps will be updated to use this new service in the coming month.
The new Whitebaord app works well, especially with a pen or stylus enabled device. One particularly irksome issue remains which dogged the previous incarnation of MS Whiteboard; meeting recordings don’t capture whiteboard content when the whiteboard is shared within the Teams meeting window. There is a small warning when you first share a whiteboard while recording a meeting:

To work around this issue, you can open your whiteboard with a web browser at https://whiteboard.microsoft.com and then share your screen. Then the whiteboard is captured in the meeting recording just like any other shared desktop app content.
This approach also provides the benefit of setting up your whiteboard ahead of time, whereas sharing a whiteboard in a meeting from within Teams creates a new whiteboard for that meeting.
Step by step
The following procedure can be followed prior to your meeting or you can do the required steps on the fly to quickly create and share a new whiteboard.
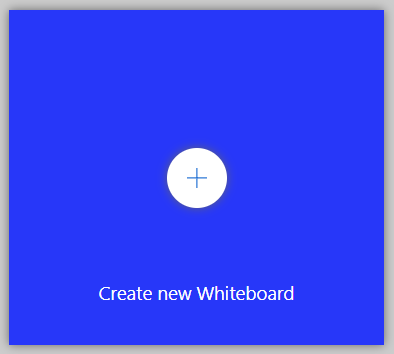
- Required: In your web browser, go to https://whiteboard.microsoft.com. Click the blue “plus” button/tile labeled Create new Whiteboard.
If you are just planning on using the Whiteboard to deliver content, and don’t want the participants interacting with the content, stop here. You can now share your browser window or desktop into your Teams meeting and the participants will see the whiteboard contents as you work.
If you want to have an interactive Whiteboard session, then you need to create and share a link to the whiteboard. As you might expect, this will give those with the link the ability to edit the contents of the whiteboard.
- Click the Share button in the upper right of the screen.
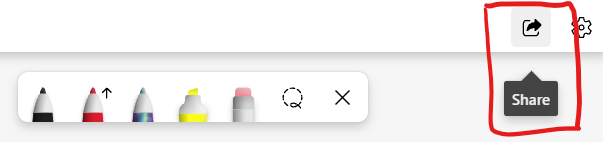
- A Share windows slides in from the right with the sole option to create a sharing link to let other people access the whiteboard. Click the button to enable the share link.
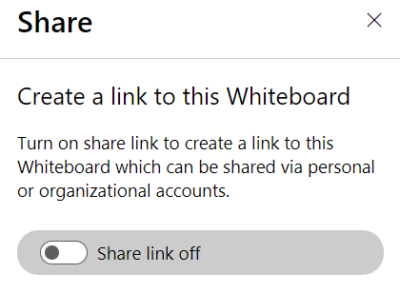
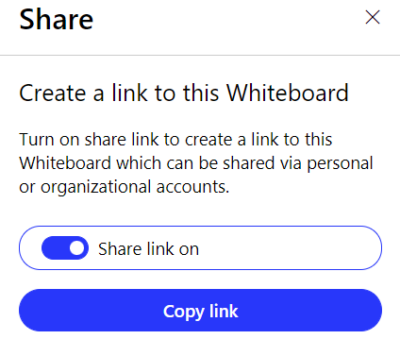
- Copy the share link and then paste this link into the meeting chat or share the link some other way with the people you want to collaborate on this whiteboard’s content.
Once you’ve opened your whiteboard in your browser window, you can share it within a Microsoft Teams meeting by sharing your whole screen or just the browser app window. Don’t select the whiteboard sharing option here; this will create a new whiteboard and it won’t be captured in the meeting recording, which is the whole point of this work-around.
You can follow step one though three ahead of a meeting and add any content that you want in preparation, perhaps using one of the templates for Brainstorming or reflecting on a project or class discussion. You may also find it useful to name your whiteboards to make them easier to find later. You can also format the background with grids or colors and add images.
After your whiteboard session is over, you can export a whiteboard as a PNG image, and you can turn off the sharing link to preserve its state